
ゴールデンウィークも終盤に差し掛かってきて、さてそろそろ自宅サーバのメンテナンスをやっていくことにする。
ということで、いろいろテスト実験用に利用している Proxmox のアップグレードを実施しようかなと。
1 年くらい前に建てて、いろんな仮想サーバを建てたり壊したりとテスト実験用として利用している。
これに 2 台を追加して、合計 3 台でクラスタをちゃんと組んでいこうと思って。
新しく 2 台追加するものは最新の Proxmox 9.1.9 をインストールしたので、この古い 8.1.19 のものを同じ 9.1.9 にしていく。
Proxmox の公式にアップグレードの方法はざっくりと記載されている。
Proxmox – Upgrade from 8 to 9
公式の内容をもとに実施できるようにしていく。
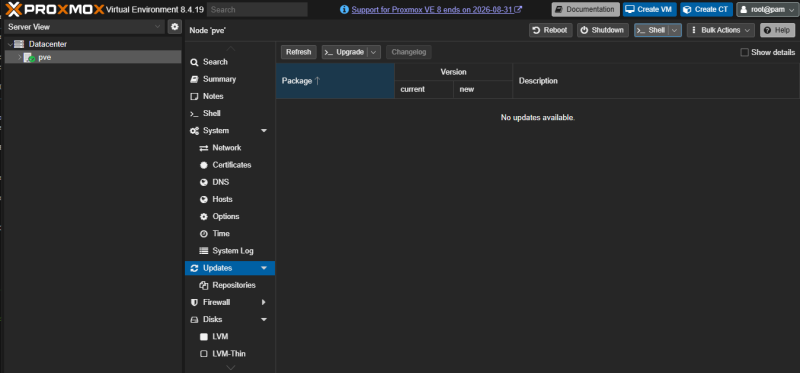
まずは、現在の Proxmox が最新になっていることを確認。
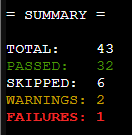
FAIL: systemd-boot meta-package installed. This will cause problems on upgrades of other boot-related packages. Remove 'systemd-boot' See https://pve.proxmox.com/wiki/Upgrade_from_8_to_9#sd-boot-warning for more information.
調べると8.1とかのISOファイルからインストールしていると出るエラーらしい。
消せばいいとのことなので、sudo apt purge systemd-boot で消してしまう。
再度、pve8to9 を実行。
FAILURES は消えて、WARNIGS の2個になる。
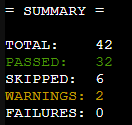
WARN: The matching CPU microcode package 'intel-microcode' could not be found! Consider installing it to receive the latest security and bug fixes for your CPU.
Ensure you enable the 'non-free-firmware' component in the apt sources and run:
apt install intel-microcode
調べるとintel-microcodeがないとのこと。
これは仕様の関係でデフォルトでインストールされないらしい。
そのため、リポジトリを書き換えて、インストールする。
現在のリポジトリ設定を確認
cat /etc/apt/sources.list
deb http://ftp.jp.debian.org/debian bookworm main contrib

deb http://ftp.jp.debian.org/debian bookworm-updates main contrib

# security updates
deb http://security.debian.org bookworm-security main contrib

deb http://download.proxmox.com/debian/pve bookworm pve-no-subscription

コピーしてバックアップ
cp /etc/apt/sources.list /etc/apt/sources.list.backup20260505

以下に丸っと上書き
cat > /etc/apt/sources.list << EOF
deb http://deb.debian.org/debian bookworm main contrib non-free non-free-firmware
deb http://deb.debian.org/debian bookworm-updates main contrib non-free non-free-firmware
deb http://security.debian.org/debian-security bookworm-security main contrib non-free non-free-firmware
EOF

上書きされたか確認
cat sources.list
deb http://deb.debian.org/debian bookworm main contrib non-free non-free-firmware
deb http://deb.debian.org/debian bookworm-updates main contrib non-free non-free-firmware
deb http://security.debian.org/debian-security bookworm-security main contrib non-free non-free-firmware

リポジトリの内容を更新
sudo apt update

intel-microcodeが利用できるようになったか確認
sudo apt policy intel-microcode

インストールする
sudo apt install intel-microcode
再度、pve8to9 を実行
WARNIGSが1個になる
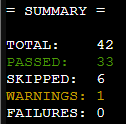
WARN: Removable bootloader found at '/boot/efi/EFI/BOOT/BOOTX64.efi', but GRUB packages not set up to update it!
Run the following command:
echo 'grub-efi-amd64 grub2/force_efi_extra_removable boolean true' | debconf-set-selections -v -u
Then reinstall GRUB with 'apt install --reinstall grub-efi-amd64'
調べると WARNIGS に記載があるとおりに、GRUB の再インストールがいるらしい。
書かれている内容を実行する
echo 'grub-efi-amd64 grub2/force_efi_extra_removable boolean true' | debconf-set-selections -v -u

再インストール
sudo apt install --reinstall grub-efi-amd64
pve8to9 を実行。
エラーが無くなったことを確認!!

作業に入る準備として、リポジトリを変更してからアップグレードをしないといけない。
bookworm から trixie へ変更が必要になる。
リポジトリをtrixieにするので、公式にあるものを実施
sed -i 's/bookworm/trixie/g' /etc/apt/sources.list
sed -i 's/bookworm/trixie/g' /etc/apt/sources.list.d/pve-enterprise.list
うちは、無料版を利用しているので、中身を書き換え
cat > /etc/apt/sources.list.d/pve-enterprise.sources << EOF
Types: deb
URIs: https://enterprise.proxmox.com/debian/pve
Suites: trixie
Components: pve-enterprise
Signed-By: /usr/share/keyrings/proxmox-archive-keyring.gpg
EOF
cat > /etc/apt/sources.list.d/proxmox.sources << EOF
Types: deb
URIs: http://download.proxmox.com/debian/pve
Suites: trixie
Components: pve-no-subscription
Signed-By: /usr/share/keyrings/proxmox-archive-keyring.gpg
EOF
Cephも設定する
cat > /etc/apt/sources.list.d/ceph.sources << EOF
Types: deb
URIs: https://enterprise.proxmox.com/debian/ceph-squid
Suites: trixie
Components: enterprise
Signed-By: /usr/share/keyrings/proxmox-archive-keyring.gpg
EOF
cat > /etc/apt/sources.list.d/ceph.sources << EOF
Types: deb
URIs: http://download.proxmox.com/debian/ceph-squid
Suites: trixie
Components: no-subscription
Signed-By: /usr/share/keyrings/proxmox-archive-keyring.gpg
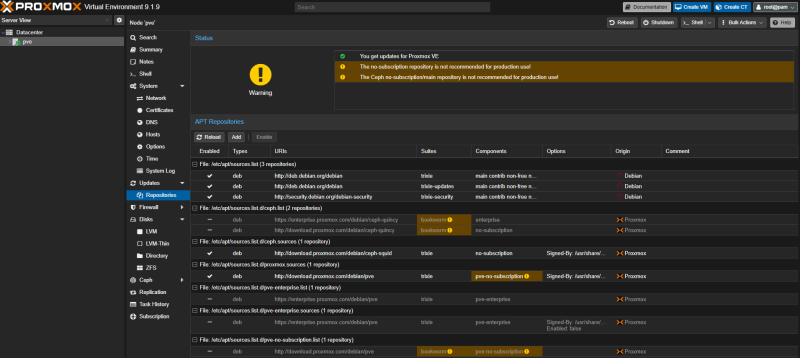
EOFここまでで、Proxmox の GUI にてリポジトリが増えていることを確認して、enterprise と古い bookworm のリポジトリを停止する。
いよいよアップグレード作業に取り掛かる。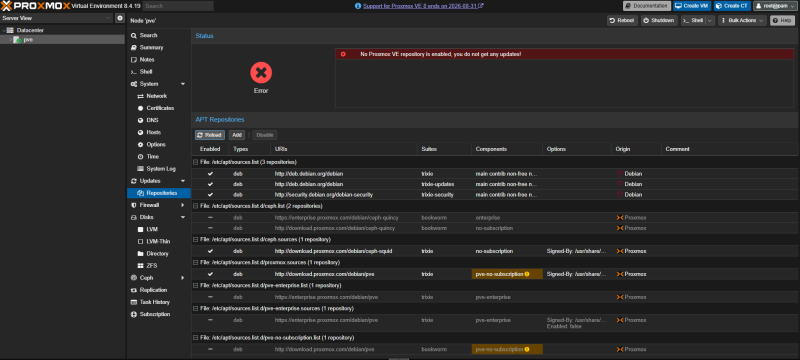
アップデート実行
sudo apt update

アップグレード実行
sudo apt dist-upgrade

途中でうちの環境では、以下の 3 つを聞かれた(環境によるよう)
*** issue (Y/I/N/O/D/Z) [default=N] ? n ⇒ 公式サイトでNoでいいと
*** lvm.conf (Y/I/N/O/D/Z) [default=N] ? y ⇒ 公式サイトでYesがいいと
*** pve-enterprise.sources (Y/I/N/O/D/Z) [default=N] ? n ⇒ 自分は個人環境なのでNoにした

終わったら再起動
sudo reboot
再起動後に、ログインしてバージョンを確認。
これで、新しく導入した 2 台のPCと 3 台でクラスタ組んで、もっといろいろなテスト実験ができるようになる。
もっといろんなことやっていこ~。